Ground-Mounted Plug-in Solar for a Yard or Patio: Stands, Wind and Rules
Not everyone has a balcony. If you have a yard, a patio, a flat bit of lawn or a spot beside a shed, a ground-mounted plug-in solar kit can be easier to set up than a railing mount: you can aim the panels at the sun, avoid drilling into anything, and move them later. It also brings its own questions about wind, tilt, where the cable goes and whether your outlet is safe to use outdoors. This guide explains how ground mounting works for a plug-in kit, how to choose the spot, tilt and direction, how to keep the stand from tipping, how to handle the cable and outlet, and what rules can still apply. It is based on Department of Energy, EIA, NREL and UL Solutions sources and state law text. We have not installed or tested any stand or kit.
Put the panels on a stand that holds them at about your latitude, facing south, in a spot with no shade at midday. Anchor or weigh the stand so wind cannot tip it, use only the maker’s cable, and plug into an outlet you have checked. Ask an electrician about outdoor and ground-fault (GFCI) outlets, and check your lease, HOA and local rules first.
- Ground mounts let you choose the angle. DOE says the optimal tilt equals your latitude, and that 15° to 40° facing south gives the best production in the continental US.
- Wind is the main risk. Steeper tilts shed snow better but add wind load, so a stand needs ballast or anchors rated for your exposure.
- Outdoor outlets are special. UL Solutions says ground-fault devices assume one-way current and may not work as intended with a kit.
- Cable matters. Use the maker’s cable, keep it out of walkways and water, and do not improvise with extension cords or power strips.
- Rules still apply. Your lease, HOA covenants and local height or setback rules can apply to a device in your yard.
How a ground mount works
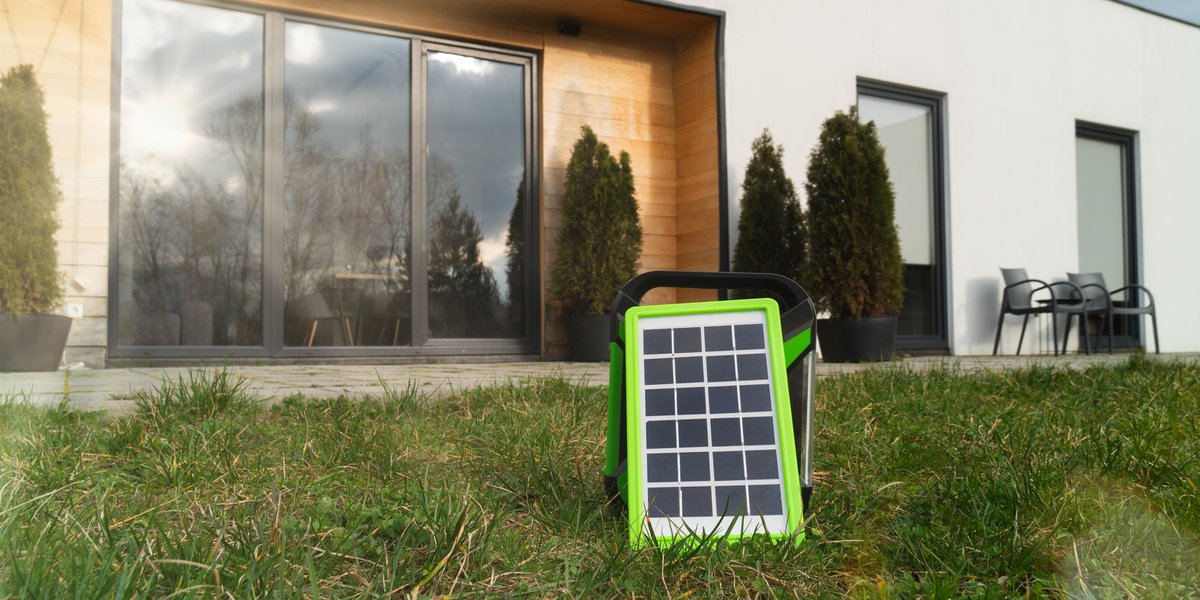
Stock photo (Freepik) for illustration only. It shows a small portable panel, not a plug-in kit, and it is not a Borizo installation. We have not tested any product shown.
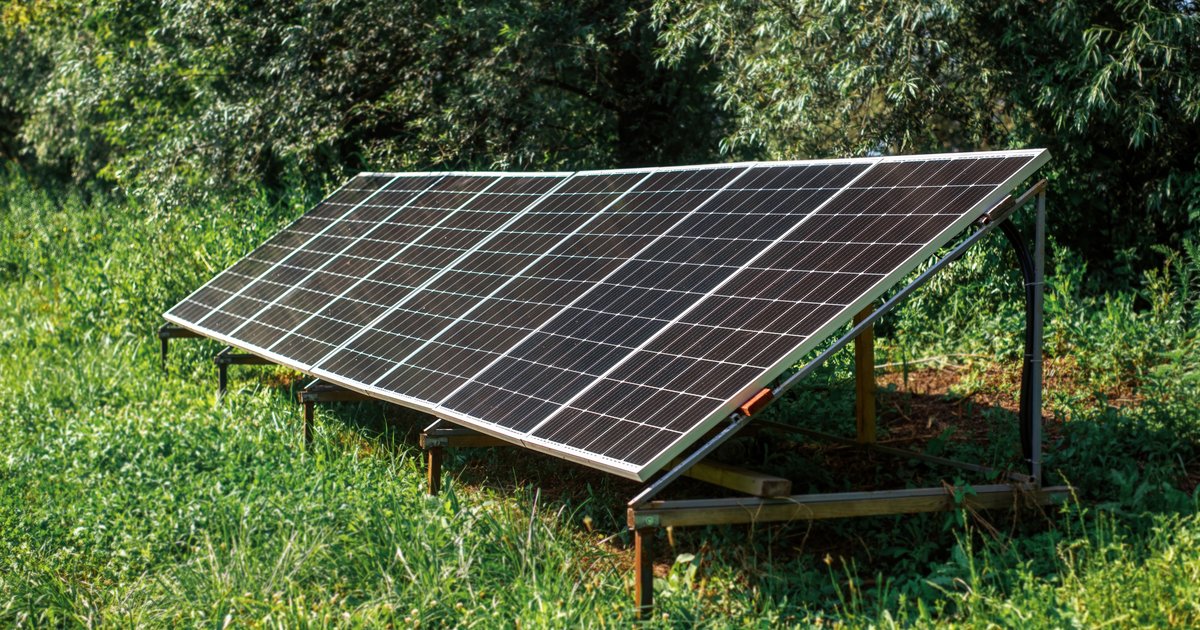
A ground-mounted plug-in kit uses the same parts as a balcony kit: panels, a microinverter and a cable to a wall outlet. The difference is where the panels sit. Instead of hanging from a railing, they stand on a frame on the ground, usually angled up toward the sun. Common ways to hold a frame in place without digging include:
| Approach | How it stays put | What to check |
|---|---|---|
| Weighted stand | Ballast such as concrete blocks or sandbags on the frame | Whether the maker specifies ballast amounts and wind limits; whether blocks can slide on your surface |
| Ground anchors or stakes | Screw anchors or stakes into soil | Soil type; permission if you rent; call before you dig so you do not hit buried lines |
| Patio or deck stand | Frame on pavers, a deck or a slab, weighted or fastened | Surface strength; whether fastening damages the deck; permission |
| Lean-to against a fence or shed | Panel leaned or strapped to an existing structure | Only a structure you own or may use, strong enough for the load |
We list categories, not products. Read each stand’s specification sheet for the panel size and weight it supports, its wind rating and its installation instructions.
Choosing the spot
- Sun first. A ground mount can go wherever there is open sky. Look for a spot with no shade from the house, trees or fences between roughly mid-morning and mid-afternoon. See how shade affects balcony solar and check in winter as well as summer, when shadows are longer.
- Distance to the outlet. The kit’s cable has a fixed length. A listing for one 800 W kit mentions a 50 ft cord, but cable lengths vary. Do not extend it with an extension cord unless the maker allows it.
- Keep it out of the way. Avoid paths, mowing areas, play areas and places where water pools or sprinklers hit.
- Think about pets and kids. Panels, cables and plugs should be out of reach, since a kit’s plug blades can be energized in sunlight, according to UL Solutions.
- Look up your tilt. A ground stand lets you set the angle, which is its big advantage over a railing.
Tilt and direction
The Department of Energy’s Federal Energy Management Program says the optimal tilt for solar exposure equals your local latitude, and that in the continental US a tilt between 15° and 40° facing south gives the best production. EIA says the simplest way to maximize the annual output of a fixed panel in the Northern Hemisphere is to tilt it south. For most of the US that means roughly 25° to 48° depending on where you live. Our angle guide has the city table, and east, west and south-facing explains the trade-offs if south is not possible.
Steeper tilts shed snow and hail better, DOE says, but they also increase wind load on the panels. A low tilt reduces wind load but may collect snow. Pick the angle your stand is rated for, then test it in NREL’s PVWatts.
Wind, weight and tipping
A panel on a stand is a sail close to the ground. A gust can lift or push it over, and a falling panel can break, injure a person or damage property. Practical steps:
- Use the stand the maker approves, and follow its ballast or anchoring instructions exactly.
- Do not rely on weight you have guessed. If the manual gives no ballast numbers, ask the maker, or consider a stand that does.
- Anchor in exposed places. Open yards, hilltops and coastal areas see stronger wind than sheltered spots.
- Take it down or lay it flat if the manual says so when a storm or high wind is forecast, and follow the disconnection steps.
- Inspect often. Check frames, fasteners, cable and ballast after storms and every few months.
The balcony-specific points in mounting without drilling apply to wind and tethering here too.
Cable and outlet
- Use the maker’s cable. Keep it off the ground where people walk, out of standing water and away from lawn equipment. Tape and cable covers are not a substitute for the manual’s instructions.
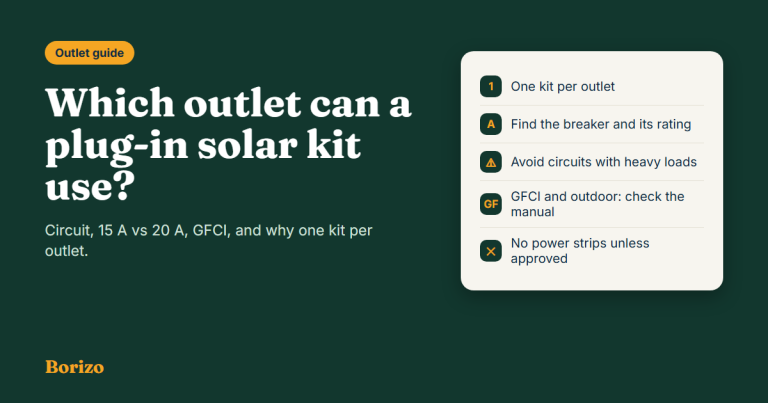
- Outdoor outlets are often GFCI-protected. UL Solutions says current GFCI standards assume current flows one way, and that two-way flow can leave a GFCI unable to protect as designed. Follow your kit’s manual for outdoor and GFCI outlets, and ask an electrician. See which outlet a kit can use.
- Do not run the cable through a closed door or window in a way that pinches or damages it.
- Do not use extension cords or power strips unless the manual allows it. The official sources we read do not cover them.
- Do not trench or bury cable yourself. Permanent outdoor wiring is electrician work and may need a permit. A plug-in kit is meant to plug in, not to be hard-wired.
If the outlet is far from the best spot, an electrician may be able to add an outdoor outlet or a dedicated circuit nearer to it. Maine requires a licensed electrician and a dedicated circuit for systems above 420 W, and having one check the circuit is sensible anywhere.
Rules that can still apply
| Rule | What we found |
|---|---|
| State size cap and certification | Most plug-in laws cap output at 1,200 W and require UL 3700 or a comparable standard. See the State Laws hub |
| Lease or landlord | Virginia, Vermont and New Jersey give tenants a path with advance written notice and landlord limits. See renters and HOAs |
| HOA or covenants | Vermont’s text says deeds and covenants cannot prohibit plug-in devices, Colorado’s summary makes unreasonable covenant restrictions unenforceable, and Virginia’s law does not override association documents |
| Local rules | Virginia’s law notes that local height, setback and historic-district rules can still apply. Ask your city or county, especially for anything tall or near a property line |
A ground-mount checklist
- Check your state’s rule, your lease or HOA and any local rules.
- Pick a spot with open sky at midday, close to a checked outlet.
- Choose a stand rated for the panel size, your wind exposure and your surface.
- Set the tilt near your latitude and face south if you can.
- Ballast or anchor it as the manual says, and keep it away from paths and play areas.
- Route the cable safely and plug in following the manual’s order.
- Inspect after storms and take it down for severe weather.
The full 12 steps are in the installation checklist.
Frequently asked questions
Can I put plug-in solar panels on the ground?
Often, yes, if your state and your lease or HOA allow it and the kit’s maker approves the stand. The kit still plugs into a standard outlet, so the cable length and the outlet matter.
How do I keep a ground-mounted panel from blowing over?
Use a stand with ballast or anchors rated by the maker for your wind exposure, and follow its instructions exactly. Take the panel down or secure it when strong wind is forecast.
What angle should a ground-mounted panel be?
About your latitude, facing south. DOE gives 15° to 40° facing south as the best range for most of the continental US.
Can I use an extension cord to reach the yard?
The official sources we read do not cover it. Use the cable the maker supplies, and ask the manufacturer and a licensed electrician before using an extension cord or power strip.
Sources
- US Department of Energy FEMP, Install and Commission a Photovoltaic System (optimal tilt equals latitude; 15° to 40° facing south; steeper tilts shed snow and hail but increase wind load).
- US Energy Information Administration, Solar photovoltaic output depends on orientation, tilt, and tracking.
- NREL, PVWatts Calculator.
- UL Solutions, “Question Corner,” IAEI Magazine, July 1, 2026 (GFCI and one-way current; energized plug blades).
- State laws: Virginia HB 395, Vermont Act 149, Colorado HB26-1007, Maine LD 1730, read October 26, 2026.
- Photos: stock images from Freepik, used for illustration only.

Borizo is an independent guide to plug-in and balcony solar in the US. We track state laws, check certification claims against official sources, and compare kits using published specifications. Laws change often, so every state page shows a “last updated” date and links to its sources. We earn a commission when you buy through our Amazon links, at no extra cost to you. Our content is for information only and is not legal or electrical advice.